The French tuck is one of the easiest styling tricks I’ve learned.
You do not need new clothes or expensive pieces. You just tuck the front part of your top into your pants, and it can instantly make your outfit look better.
I like using this trick because it makes simple outfits look more balanced and put together. It also helps define the waist without making the outfit look too formal.
Whether you wear it with jeans, trousers, or shorts, the French tuck is a small detail that can make a big difference.
Contents
Step 1: Start with an Untucked Shirt
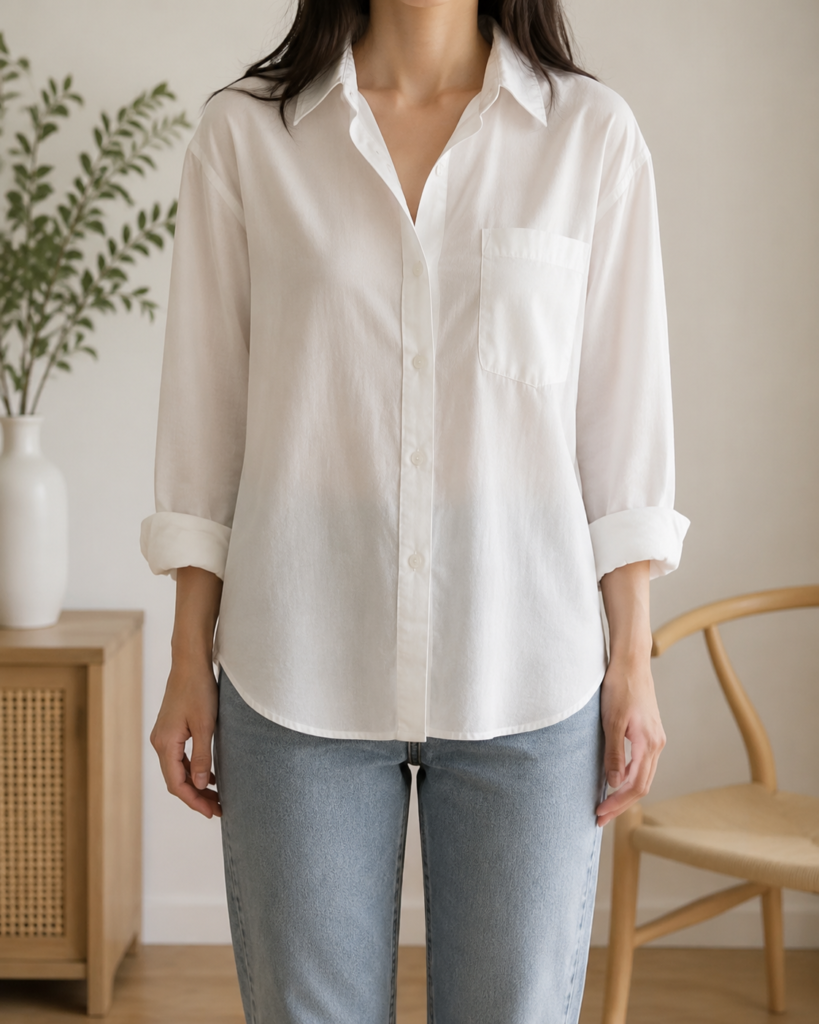
The first step is something simple, but it actually matters more than people think. I always begin with my shirt fully untucked. This is important because it gives you control over how the fabric naturally falls before you adjust anything.
When I do this, I usually choose relaxed shirts; like button-ups, oversized tees, or soft blouses. The goal is not perfection at this stage. It’s about letting the fabric sit naturally so you can see how much volume you’re working with.
From my experience, skipping this step often makes the tuck look forced or uneven. When I start untucked, I can clearly decide what part of the shirt should stay loose and what part should be tucked in.
Personal Tip: Don’t overthink this step. Just let the shirt fall naturally and check your reflection before moving on.
Step 2: The Front Tuck
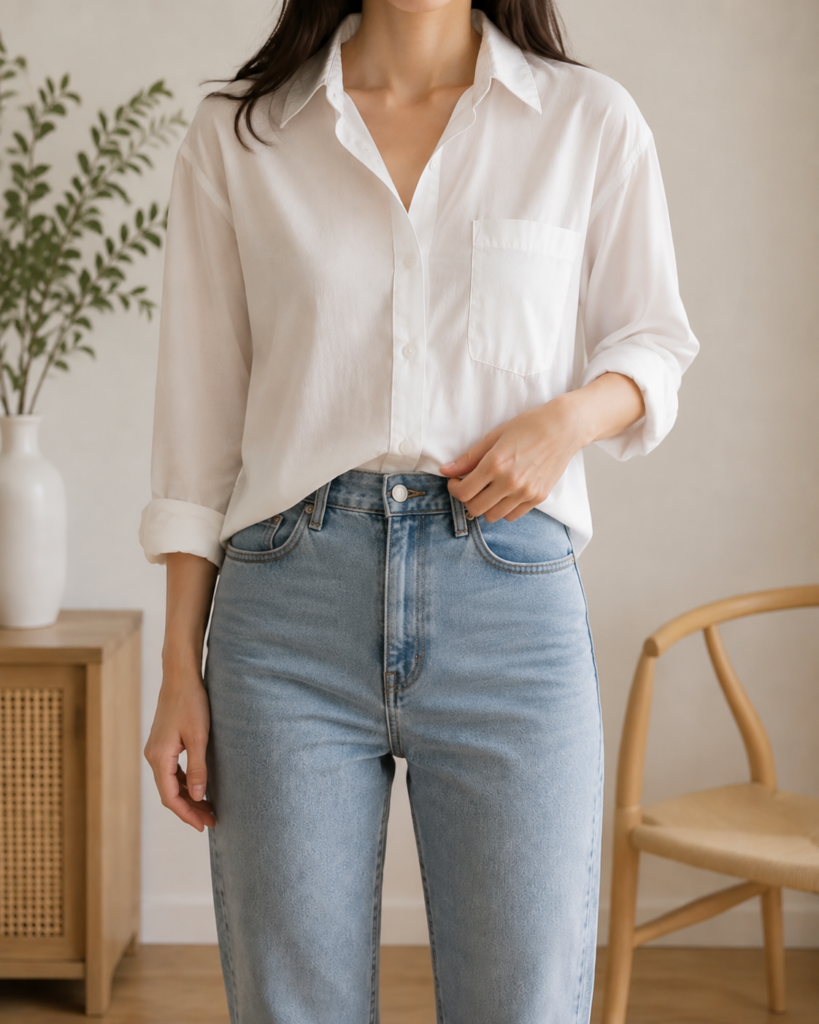
This is the step most people recognize as the “French tuck.” I usually take the middle front part of my shirt and tuck it loosely into my pants or jeans.
What I’ve learned is that you don’t want to tuck it too tightly. The goal is a relaxed fold that creates a natural drape. When I do it correctly, it instantly defines my waist without making the outfit feel stiff.
I often adjust this part a few times until it feels right. Sometimes I pull out a little fabric to create a softer look, especially if I’m wearing high-waisted jeans or trousers.
From my experience, this step is where the transformation really starts. A basic outfit suddenly looks more styled and intentional.
Personal Tip: Always look at your proportions in the mirror. If it feels too tight, loosen it slightly for a more natural finish.
Step 3: Adjust the Sides and Back
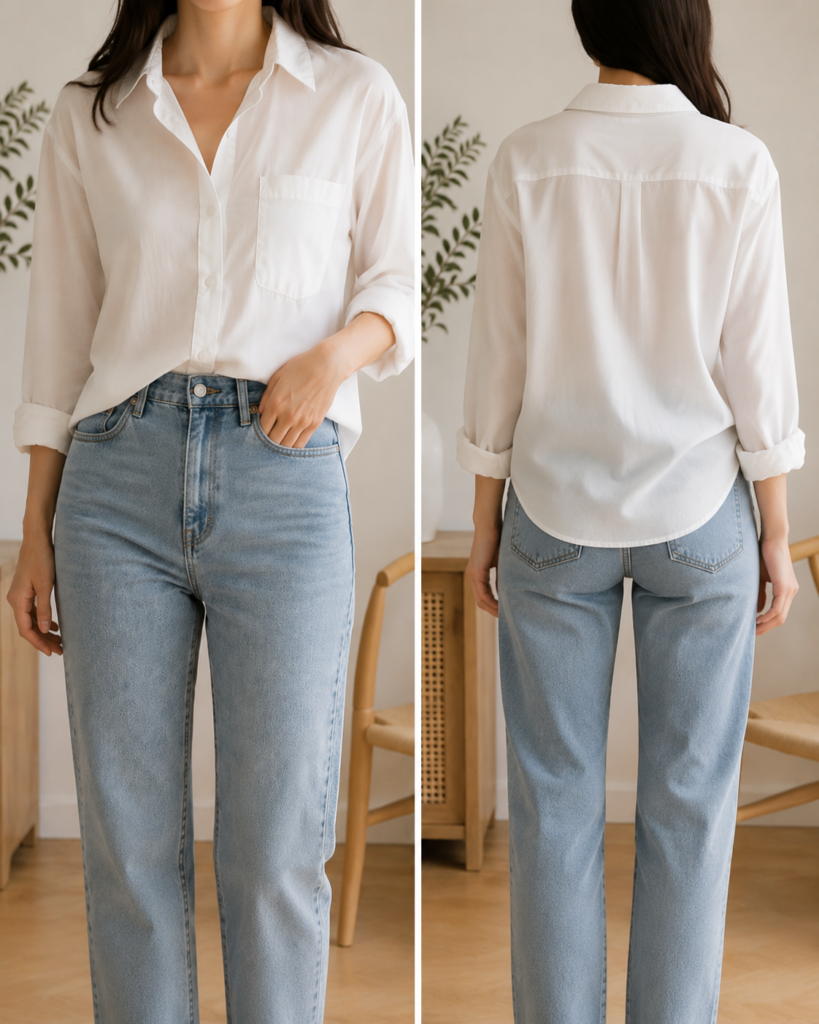
Once the front is tucked, I move to the sides and back. This step is often overlooked, but it’s actually what makes the French tuck look clean instead of messy.
I usually smooth out the fabric on both sides so it falls evenly. The back stays mostly untucked, which keeps the relaxed feel of the outfit. The balance between tucked and untucked is what gives this style its signature look.
When I first started doing this, I used to skip the side adjustment, and my outfit would look uneven in photos. Now, I always take a few seconds to make sure everything flows properly from all angles.
Personal Tip: Turn slightly in front of the mirror. Check how it looks from the side, not just the front.
Step 4: Adjust the Edges
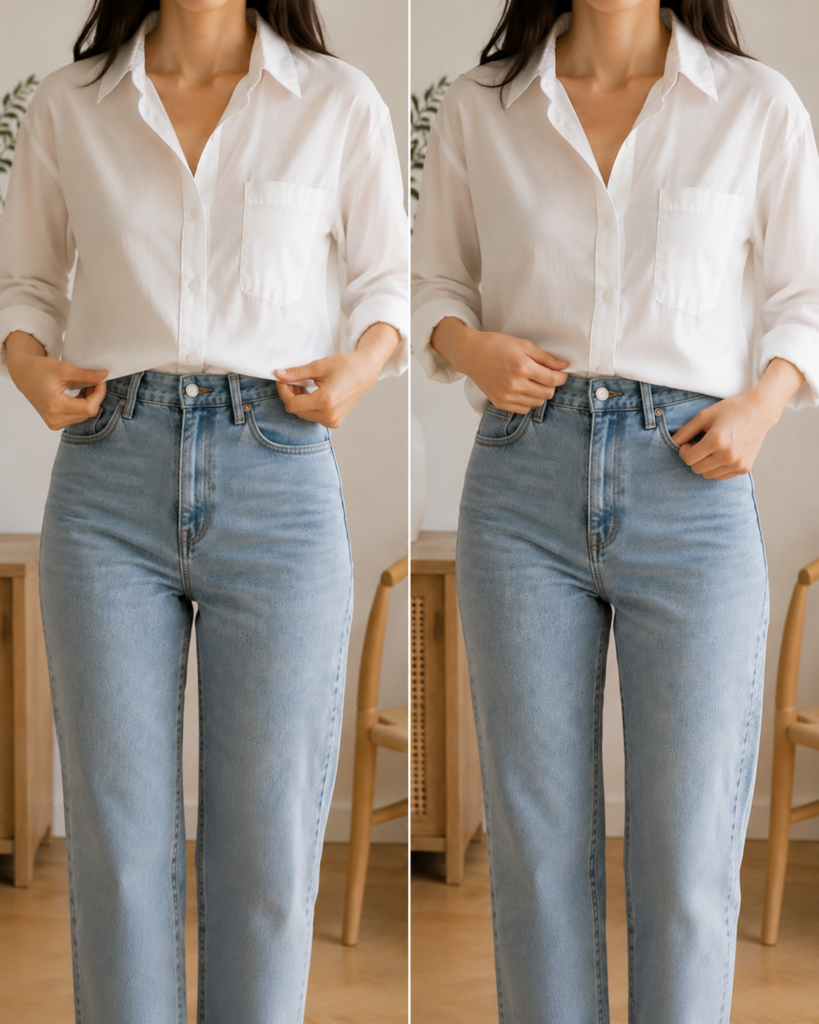
The last step is what I call the “refinement stage.” Here, I gently adjust the edges of the shirt to make sure nothing looks too bulky or uneven.
I usually pull out small sections of fabric around the waist area to create a soft drape. This helps avoid that stiff “half-tucked” look and makes the outfit feel more natural.
This is also where I decide how casual or polished I want the outfit to look. A tighter tuck gives a cleaner, sharper style, while a looser tuck feels relaxed and effortless.
From my experience, this final step is what separates a good French tuck from a great one.
Personal Tip: Don’t rush this part. Small adjustments make a big difference in the final look.
Why the French Tuck Works So Well?
Over time, I’ve realized the French tuck works because it plays with proportions. When you fully untuck a shirt, your body can look boxy or shapeless. But when you tuck just the front, you create structure at the waist while still keeping movement and flow.
It’s a styling trick that works across different body types and outfit styles. I’ve used it with casual outfits, office wear, and even travel looks. It always adds that “effortlessly put together” effect without trying too hard.
Another reason I love it is because it’s versatile. I don’t need to change my wardrobe—I just change how I wear my clothes.
When I Personally Use the French Tuck
I usually use the French tuck in situations where I want to look casual but still polished. For example:
- Casual coffee meetups
- Work-from-café days
- Traveling outfits
- Simple streetwear looks
- Dinner with friends
It’s become one of my go-to styling habits because it saves time while still making me feel confident in my outfit.
Common Mistakes I’ve Learned to Avoid
When I first started using this style, I made a few mistakes that actually made my outfits look worse instead of better:
- Tucking too tightly and losing the relaxed feel
- Ignoring the side balance
- Overthinking the perfection of the fold
- Using overly stiff shirts that don’t drape well
Once I corrected these, the French tuck started working much better for me.