
When you’re ready to go out and hit the town in your favorite pair of LED sneakers, it can be frustrating to realize that one shoe has suddenly stopped lighting up. In many cases, you don’t necessarily need to shell out the cash for a brand new pair. If your shoes aren’t lighting up and dazzling passers-by, you may be able to fix them without giving yourself a headache.
What Damages LED Shoes?
Like any other footwear, LED shoes aren’t invincible. Without proper care, they may break, possibly irreparably. Because of the circuitry cased inside the sole of the shoe, their more delicate than other footwear. Here, we go over some of the main reasons that people find their LED shoes failing to light up.
1. Moisture
LED shoes are prone to water damage, which can corrode metal contacts in the batteries, rendering them useless and potentially damaging electronic components. It’s crucial to keep LED shoes dry to prevent malfunctions or complete destruction of internal electronics. While most LED shoes are somewhat resistant to water due to protective design features like rubber soles or plastic casing, total submersion is not recommended. Avoid washing them in the washer; instead, consider taking them to a dry cleaner for cleaning.
2. Heat

Excessive heat can severely damage LED shoes, causing batteries to bulge, bubble, or burst. Prolonged exposure to high temperatures can lead to permanent battery damage. To prevent this, store LED shoes in a cool, dry place like a closet or under a bed, avoiding hot environments such as cars or trunks where temperatures can rise rapidly, potentially exceeding 120℉ in just 30 minutes on a sunny day.
3. Hard Impacts
A common reason for LED shoes malfunctioning is connectivity issues, often caused by disconnected wires disrupting the circuit between the battery and LEDs. Movement, impacts, or putting on/taking off shoes can inadvertently disconnect wires. While avoiding all impacts is impossible, minimizing wear on rough terrain and outdoor use can help protect LED shoes from damage.
4. Excessive Use
LEDs typically have a long lifespan of up to 50,000 hours, so burning out in shoes is rare but possible with frequent use. Even if connections are correct, shoes won’t light up if LEDs burn out. To extend LED shoe lifespan, reserve them for special occasions rather than everyday wear, as continuous use accelerates LED burnout.
Fixing Common Issues with LED Shoes
a. Changing The Battery in LED Shoes
When an LED shoe malfunctions, it’s often due to a faulty battery. Replacing the battery can restore functionality. Check your shoes for accessibility to the battery compartment, usually located in the sole around the heel. Some models require accessing the battery from the underside; look for a tab or slot near the heel. Tools like a knife or screwdriver may be needed to open the compartment.
Different Battery Types for LED Shoes
LED shoes utilize various battery types, including standard AA or AAA batteries and specialty watch batteries like CR2025 or CR2032. Specialty batteries are suitable for designs with thinner soles. Use needle-nose pliers to remove them if necessary. After replacement, ensure correct placement and orientation to prevent LED malfunction. Test the shoes on a flat surface to verify functionality. Close the battery compartment securely to protect it from moisture. Replace the insole if lifted during battery access before wearing the shoes.
b. Reconnecting The LED Wire
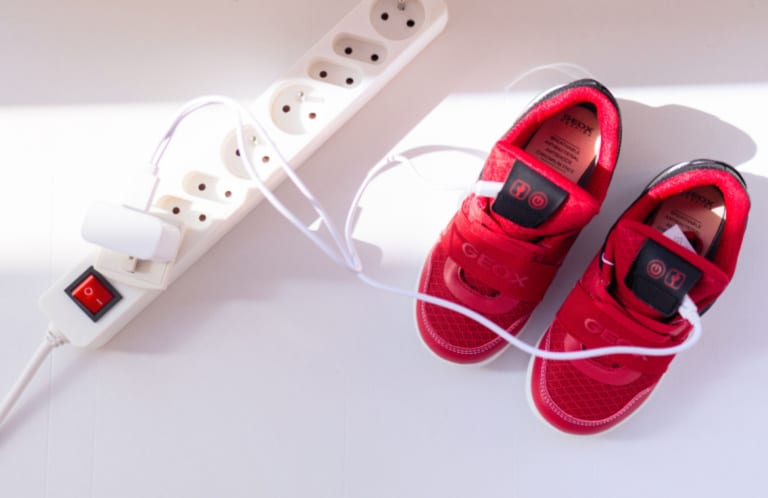
If new batteries don’t revive your LED shoes, faulty wiring may be the culprit. Loose or broken connections, common in budget models, can prevent proper lighting. Check interior wiring carefully for secure connections. In many models, a wire connects the battery to a USB charger along the interior side, prone to disconnection from foot movement. Without this connection, shoes won’t charge or light up.
Issues Between The Battery and The LED Strip
Connection problems between the battery and LED strip can cause LED shoes to malfunction. Check the wiring by removing the insole to locate any loose or broken connections. Reconnect any separated wires and test the shoes for lighting functionality. Ensure all wires are properly positioned before replacing the insole.
c. Strengthening The Connection
Weak connections can cause LED shoe malfunctions. Besides checking for loose wires under the insole, ensure all connections are secure. To improve battery-circuitry contact, squeeze the battery holder or add materials like pennies or foam to stabilize the compartment. For persistent issues, consider permanently securing connections with glue, but note this is irreversible. With these DIY fixes, you can often revive your LED shoes without professional help.
Final Thought
In the world of fashion, your LED shoes aren’t just footwear – they’re an extension of your personality, a canvas for self-expression. But when those dazzling lights start to dim, don’t let it dull your sparkle. Armed with a little know-how and a touch of creativity, you can bring your LED shoes back to life.
So, don’t toss them aside – let your DIY spirit shine as you embark on the journey to revive your favorite kicks. With a few simple steps and a dash of determination, you’ll be back to turning heads and lighting up the streets in no time. Your LED shoes are more than just shoes – they’re a story, and you hold the power to keep that story glowing.