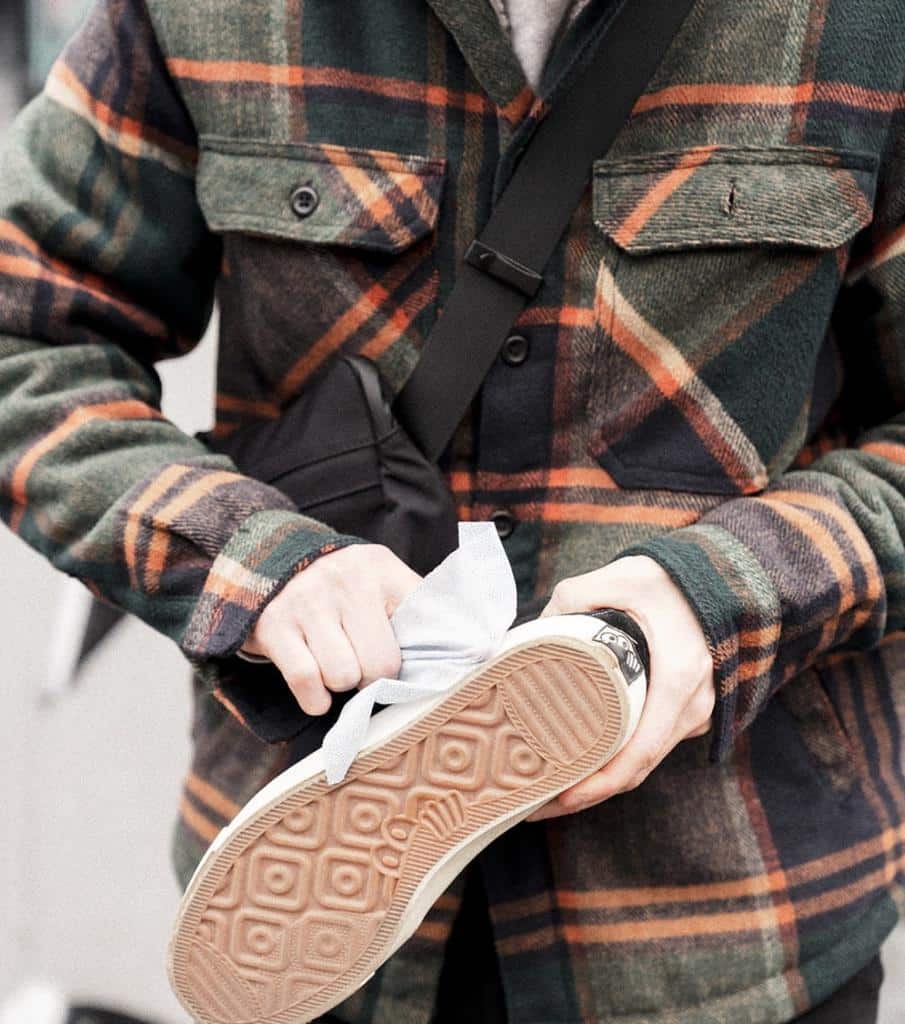
It goes without saying that you need to carefully look after your precious possessions. The same thing also applies to your sneakers. You need to make sure that it stays clean and fresh. If you’re going to use sneakers, you don’t want them to look dirty, right? The same thing also applies to collectors who display their shoes! Hence, you need to read my tips on how to clean sneakers properly and how to take care of them!
As someone who has worked with high-profile clients and is recognized as an expert in my field, you can trust that the tips and techniques I share have been tested and proven to work.
I am confident that by following the steps outlined in this article, you’ll be able to keep your sneakers looking like new, no matter how much wear and tear they’ve endured. So, let’s dive in!
Contents
- I. Cleaning Kits Needed
- II. Follow these 9 Easy Steps Of How To Clean Sneakers!
- III. Alternative Cleaning Method for Any Different Materials
- IV. Common Mistakes To Avoid
- V. Quick Fixes For On-The-Go Cleaning
- VI. How to Keep Your Sneakers Clean
- VII. How to Get Yellowing Off Your Sneakers
- VIII. Do’s and Don’ts
- IX. Sneakers Protection Post-Cleaning
- X. Conclusion
- VII. Question and Answers
I. Cleaning Kits Needed
- Shoe Cleaner
- Apron
- Premium Brush
- Medium Brush
- Standard Brush
- Small Brush or Toothbrush
- Microfiber Cloth
- Shoe Tree
- Container
II. Follow these 9 Easy Steps Of How To Clean Sneakers!

Now, let’s get to the fun part: the detailed step-by-step walkthrough of washing your sneakers by hand. We will talk about the ingredients and material needed, which part of the sneaker’s anatomy you should be mindful of, and the dos and don’ts when cleaning sneakers.
Let’s get going!
Step 1: Remove the laces from your Sneakers:

I highly recommend that you remove the lace from your shoe first. After you manage to separate them, you can soak the laces in a cleaning solution that features Shoe Cleaner. After waiting for some time, clean it and squeeze it a bit to remove the water. Finally, you can dry it off with a microfiber cloth.
Step 2: Insert the Shoetree in your Sneakers:

This is an essential step, as a Shoetree will be important to maintain the shape of your sneaker when you wash it. However, make sure to remove the insole before inserting a Shoetree.
Step 3: Dry-clean the Sneakers
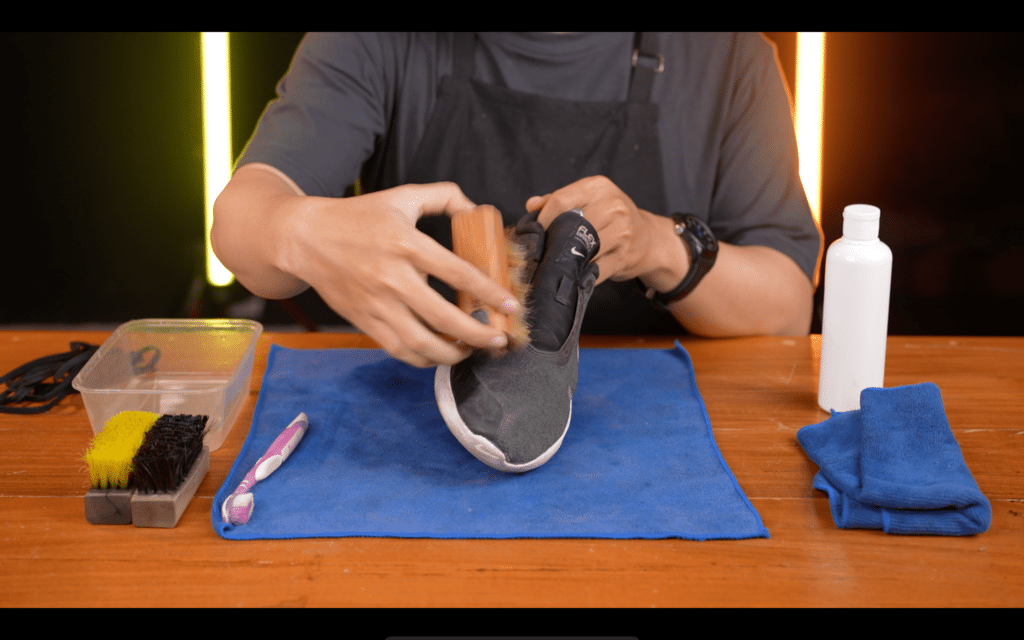
Before washing the sneakers with water, brush the upper part and midsole with a premium brush to wipe off debris and dirt. In my experience, dry brushing will ensure that your shoes are thoroughly clean.
Step 4: Wash the Outsole and Midsole
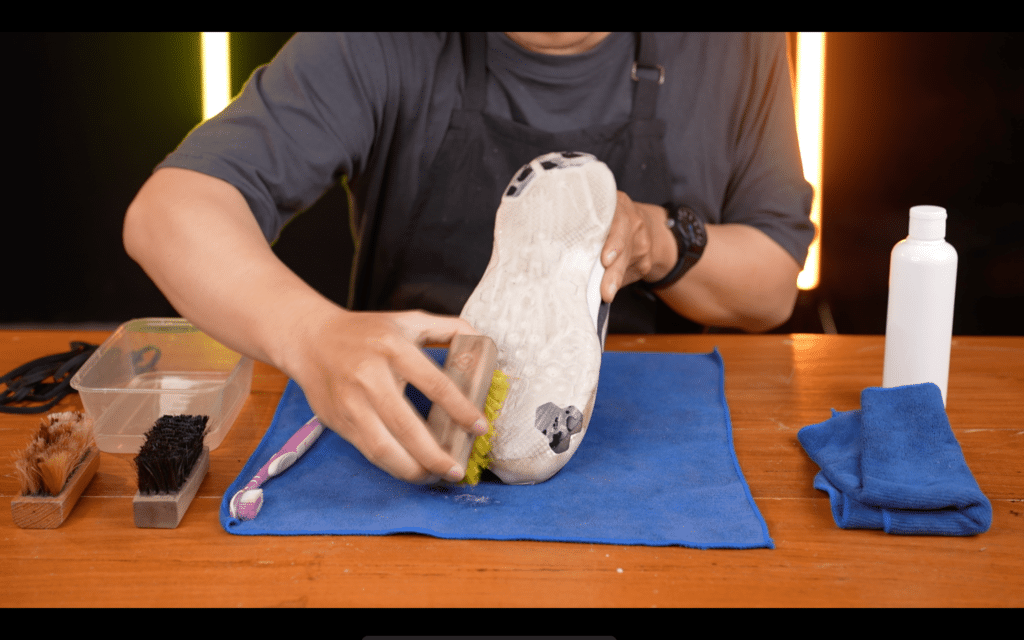
During this cleaning stage, you can use a Standard Brush. Make sure to use all your strength when cleaning the outsole, as it’s naturally the dirtiest part of a shoe.
As soon as you have finished cleaning the outsole, you can proceed by cleaning the midsole with a Medium Brush. I recommend that you exert some patience and diligence, as there will be a lot of dirty spots that are hard to clean.
Step 5: Wash Your Sneaker’s Insole

If possible, make sure to remove the insole from your sneaker. Then, proceed to brush the insole with a Premium brush and wait until it dries off before inserting it back inside the sneaker.
Note: Don’t force to remove the insole, as some sneakers have their insoles glued to the shoes. When you force it out, it will definitely damage your precious item.
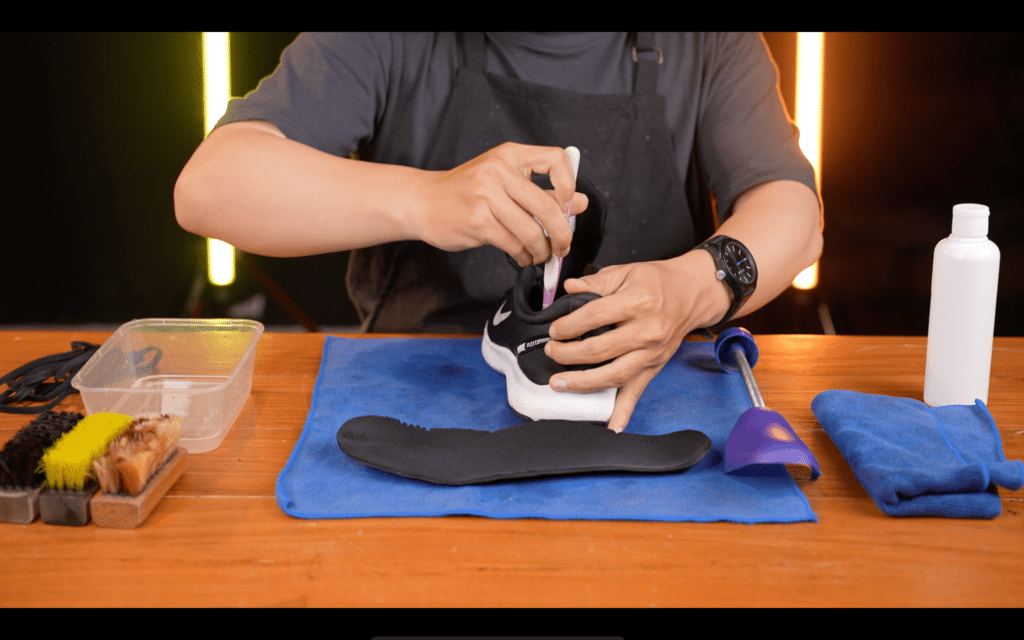
Step 6: Wash the Upper Part of Your Sneaker
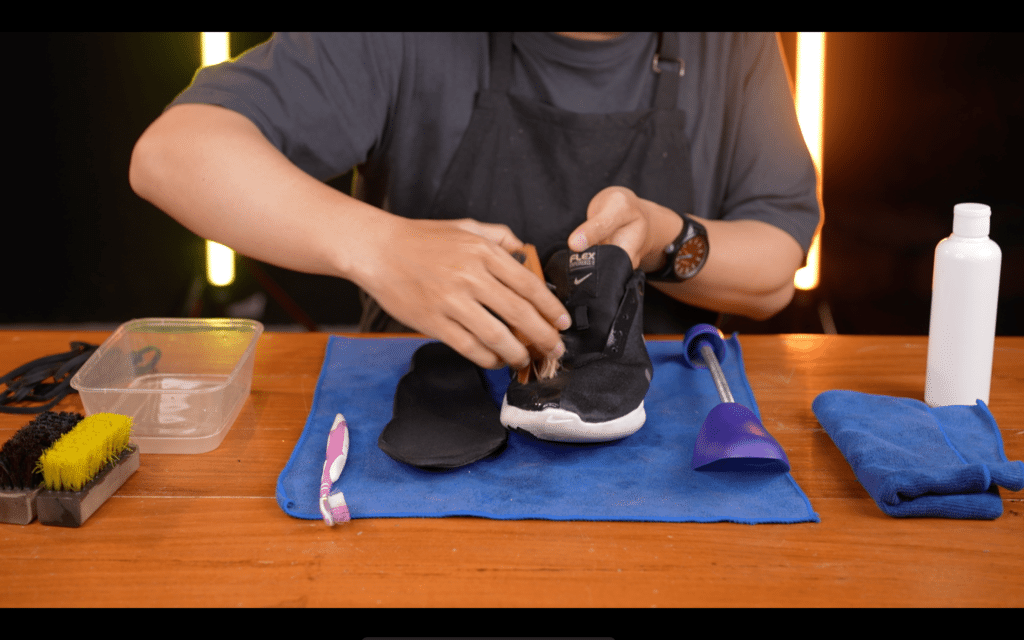
Use the Premium Brush to wash the upper part of your sneaker. I highly recommend that you get one so you can prevent scratching your shoe.
When cleaning the upper part of your sneaker, make sure to do it carefully! Shortly afterward, you may wipe it with a microfiber cloth by gently tapping it on the shoes. This way, the water gets absorbed properly
Step 7: Wash the Inner Part of Your Sneaker
Use a small brush to clean the inner part of your shoes, as it is definitely hard to reach. Then, wipe it with a microfiber cloth or a premium brush. Bear in mind that due to its challenges, I won’t force you to try so hard when wiping narrow spaces.
Step 8: Detailing

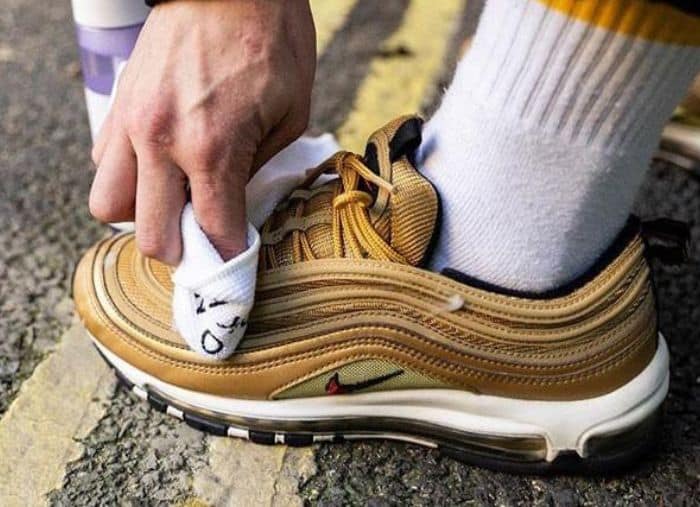
Use a wet microfiber cloth to clean the details on your sneakers that are dirty. In my case, I usually pay more attention to my midsole or outsole as they stain easily.
Step 9: Drying Process
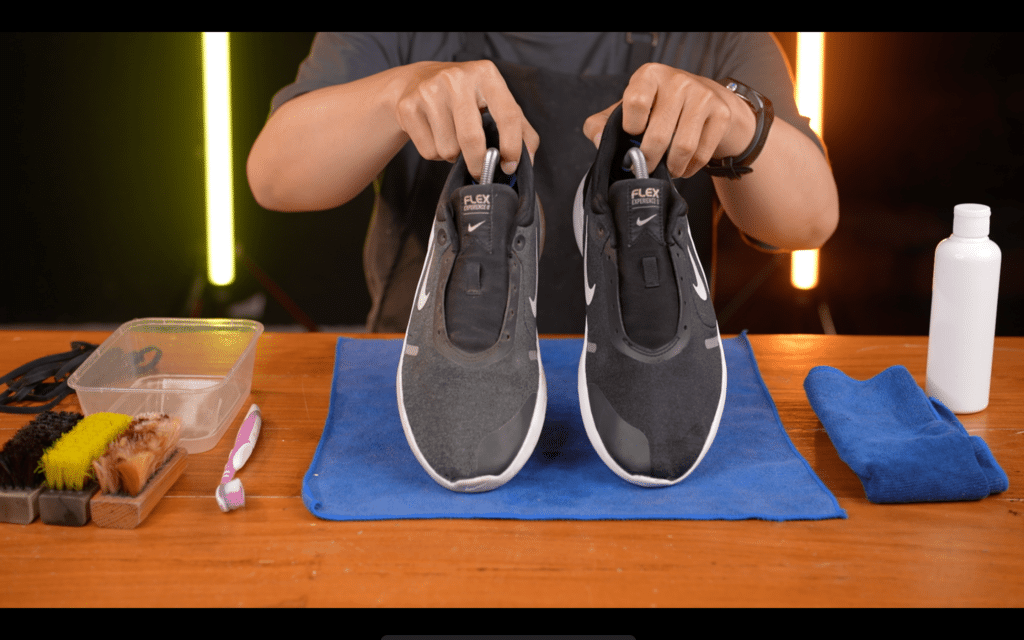
Dry off your shoes by using a fan. As an alternative, you can also dry it by waving your hands or placing the shoes in a cold area with minimal moisture. Try not to dry the sneakers by placing them under direct sunlight, as it can damage the glue or paint of said shoes.
III. Alternative Cleaning Method for Any Different Materials
1. How to Clean Canvas and Mesh Sneakers
If you’re like me and enjoy keeping your sneakers looking fresh and clean, you’ll appreciate these simple yet reliable steps to restore your favorite footwear!
In just a few easy steps, you can have your canvas and mesh sneakers looking as good as new. I’ve tried it myself, and time is yours now!
Step #1: Remove Laces
Take out the shoelaces from your canvas sneakers. I often do this procedure as it makes it easy to clean the shoes thoroughly.
Step #2: Brush Loose Dirt
Start by shaking the shoes to remove any loose dirt, dust, or debris. Though it works great, I prefer to use a soft bristle brush to reach the narrow spots. I also recommend an old toothbrush if your shoes are covered with thick debris.
Step #3: Create a Cleaning Solution
For this step, you can simply add a small amount of mild detergent or dish soap. Then, stir it with a spoon. I usually do it with a clean sponge and squeeze it to make a soapy solution.
Step #4: Scrub the Canvas
Next, scrub the canvas gently with a soft bristle brush. Don’t forget to dip the brush into the cleaning solution first! Be careful not to scrub it too hard to prevent damaging the material. Based on my experience, I advise you to do it in one direction to preserve the canvas as well as lift the stains better.
Step #5: Rinse and Dry
Instead of soaking, take a bowl of cold water and dip a clean microfiber cloth. Then, wipe away the soapy residue on the canvas, making sure there’s no soap left. Afterward, pat a dry towel or old newspaper on the shoe to remove moisture and let your sneakers sit at room temperature. An additional tip from me is to use shoe trees while drying to maintain the shoe shape.
Step #6: Remove Odors with Baking Soda
Generally, I include this step if I have stinky shoes. You can sprinkle some baking soda inside them and let them sit overnight. Shake out the excess baking soda the next day.
2. How to Clean Neoprene and Waterproof Sneakers

After successfully cleaning my neoprene and waterproof sneakers, I’m excited to share the methods that have proven effective in keeping them both stylish and functional.
In this step-by-step guide, I’ll walk you through the cleaning process to ensure your sneakers remain in top-notch condition. Check it out!
Step #1: Remove Insoles
First and foremost, you must take out the insoles. Once, I missed this step, resulting in the stinky odor of my shoes when they weren’t entirely dry. Besides, it also aids in thorough cleaning.
Step #2: Dust and Shake Off Loose Dirt
I generally shake the loose dirt by tapping the shoes together. But if you want to ensure you get all the debris out of the shoes, I recommend using a brush.
Step #3: Prepare a Soapy Solution
Before you begin, prepare a basin and fill it with lukewarm water. I tried with cold water once, but it didn’t take the stains effectively. So, warm water is better! Then, pour a small amount of liquid mild detergent or neoprene-specific cleaner and mix the solution with a sponge or clean cloth.
Step #4: Wipe the Neoprene
The next thing to do is to wipe the neoprene to remove visible dirt or stains. After preparing the cleaning solution, you can dip a clean cloth or sponge. Instead of directly rubbing it on the shoes, I will always wring it out to prevent dripping.
Step #4: Spot Clean Stubborn Stains
If I have stubborn stains, I love to use an old toothbrush or soft brush to scrub the affected area. But please, be gentle!
Step #5: Rinse and Dry the Shoes
When the cleaning process is done, take a damp sponge or cloth to wipe the soap residue. I usually start from the canvas to the sole to ensure that there are no marks on the material. After that, I will stuff paper towels into the insoles to remove moisture before moving to the outer parts. Next, let them dry naturally. I recommend putting the shoes in front of a fan to accelerate the drying process.
3. How to Clean Nubuck Sneakers

Step #1: Brush Off Loose Debris and Dirt
Begin by using a nubuck brush or suede brush to gently brush away any loose dirt, dust, or debris from the nubuck surface. To maintain the fibers, I use a one-direction brushing method.
Step #2: Treat Stains
Unlike other methods for sneaker cleaning, you will need a nubuck or suede eraser to treat the stain. I use a circular motion on the material to gently and thoroughly lift the dirt. Also, I find this method ideal for preserving the nubuck fibers.
Step #3: Rinse and Dry the Shoes
Mix a small amount of nubuck/suede cleaner with water in a small bowl, following the product’s instructions. Use a soft cloth or chamois to create a slightly soapy solution. Alternatively, I sometimes use a spoon if I only have one soft cloth for the drying process.
Step #3: Clean the Nubuck Shoes
For the cleaning process, Dip the soft cloth or chamois into the soapy solution and wring it out so it’s damp but not soaking wet. I usually start by bolting and cleaning the surface, then the insoles and outsoles.
Step #4: Rinse
After cleaning, use a clean, damp cloth to wipe away any soap residue from the nubuck. Then, pat the nubuck with a dry, clean cloth to remove excess moisture.
Step #4: Air Dry
Allow the shoes to air dry naturally at room temperature. Avoid exposing them to direct sunlight or using heat sources like a hairdryer, as excessive heat can damage the nubuck. But, I highly recommend setting up a fan as it will speed up the water evaporation from the nubuck while maintaining their material.
Step #5: Restore Texture
Once the shoes are completely dry, use a nubuck brush or suede brush to restore the texture. I do this step by brushing the nubuck in one direction. This approach works best to lift the nap and bring back the softness.
IV. Common Mistakes To Avoid
1. Using Harsh Cleaners
Avoid using strong chemicals or bleach when cleaning sneakers. They can damage the shoe material, strip away color, and weaken adhesives. Stick to gentle, sneaker-specific cleaners or a mixture of mild soap and water.
2. Over-Soaking
Don’t soak your sneakers or immerse them fully in water. Excess moisture can warp the shape, cause odor, and damage cushioning. Instead, use a damp cloth or soft brush to spot clean.
3. Scrubbing Aggressively
Don’t scrub too hard with abrasive brushes or scouring pads. It can scratch or scuff your sneakers, especially if they have sensitive materials or delicate designs. Gently scrub stains and scuffs to avoid this.
4. Skipping Laces and Insoles
Neglecting to clean your shoe’s laces and insoles can leave your sneakers looking incomplete and still dirty. Remove the laces and insoles to clean them separately.
V. Quick Fixes For On-The-Go Cleaning
1. Use Baby Wipes
Simply wipe the surface of your sneakers with a baby wipe, focusing on dirty areas. This works well for fresh stains and light dirt. Avoid excessive rubbing to prevent damage.
2. Try Travel-Sized Sneaker Cleaner
In addition to baby wipes, I generally bring a travel-sized sneaker cleaner in my bag. Just in case accidents happen. In this case, apply a small amount of cleaner to the brush or directly onto the dirty area, then scrub gently. Wipe away excess cleaner with a cloth or paper towel.
3. Magic Eraser Sponge To The Rescue!
Dampen it slightly and gently rub over scuff marks and stains. Instead of immediately applying it on the shoes, I will always test it in a small, inconspicuous area first to ensure it doesn’t damage the finish.
VI. How to Keep Your Sneakers Clean
1. Preventative Measures
Avoid wearing sneakers in messy conditions, and apply a stain remover and water repellent before wearing them to protect against light stains and water.
2. Regular Dusting
For small marks, I generally use a stain remover pen immediately. Meanwhile, for overall cleaning, remove the laces and insoles, then gently scrub the sneakers with a mild soap and water solution using a soft brush or cloth.
3. Immediate Stain Removal
Deal with stains promptly using a stain remover pen or mild soap and water. I recommend trying to use wet baby wipes or a magic eraser sponge for a quick fix.
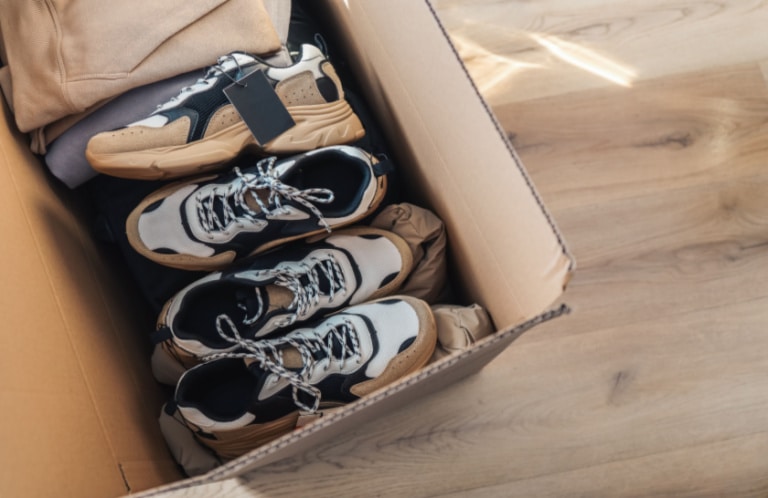
4. Proper Storage
Store sneakers in a cool, dry place away from direct sunlight to maintain their condition and extend the wear period.
VII. How to Get Yellowing Off Your Sneakers

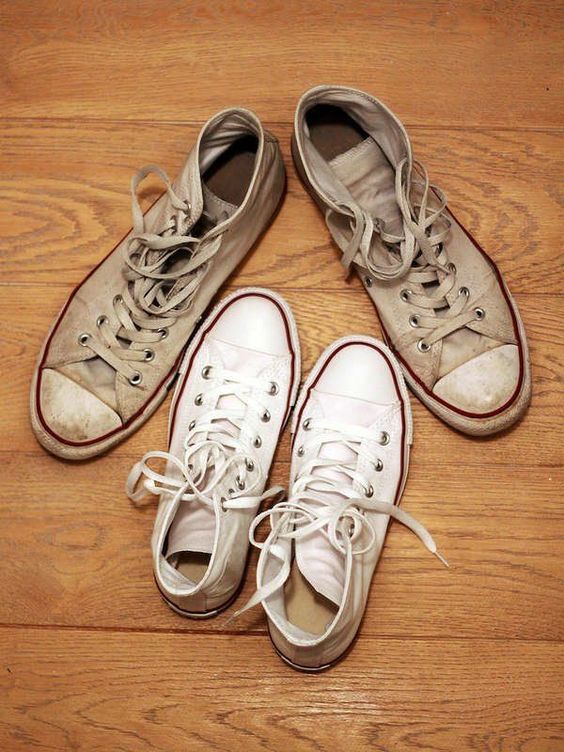
Nothing lasts forever, even fresh sneakers. No matter how careful you are to take good care of your sneakers, chances are still present that they won’t stand the test of time and turn yellow.
That being said, you can still help make them turn white again. So, roll up your sleeves, and let’s try the following steps!
Step 1: Gather Your Materials
You will need a few items: hydrogen peroxide, a bowl, sunlight or a UV lamp, a soft cloth, and a soft-bristle toothbrush.
Step 2: Prepare the Hydrogen Peroxide Solution
In the bowl, mix equal parts of hydrogen peroxide and water. For example, you can use 1/2 cup of each for a moderate cleaning solution.
Step 3: Remove Laces and Insoles
Take out the laces and insoles from your sneakers to ensure thorough cleaning.
Step 4: Apply the Solution
Dip the soft cloth into the hydrogen peroxide solution and wring it out slightly. You don’t want it dripping wet, just damp. Gently wipe the yellowed areas of your sneakers with a damp cloth. Be careful not to soak the sneakers entirely,
Step 5: Brush Away Stubborn Stains
Use a soft-bristle toothbrush dipped in the hydrogen peroxide solution for stubborn yellowing or stains. Gently scrub the affected areas in a circular motion.
Step 6: Sunlight or UV Exposure
Place your sneakers in direct sunlight or under a UV lamp. This step is crucial for the hydrogen peroxide to work effectively. Leave them exposed for a few hours, checking periodically to ensure you’re not overexposing them.
Step 7: Rinse and Dry
After sun exposure, rinse your sneakers thoroughly with cold water to remove any remaining hydrogen peroxide solution. Allow your sneakers to air dry completely at room temperature. Avoid using direct heat sources.
VIII. Do’s and Don’ts
| Do’s | Don’ts |
| Gently clean the upper part of the shoes. | Keeping your shoes wet and moist after being cleaned. |
| Use a shoe perfume to make your sneakers smell fresh. | Dry off your shoes under direct sunlight. It can damage the glue inside as well as make the paint or coloring fade. |
| Try wet wipes if you want to clean the shoes on the go. | Wipe the material too hard and sturdy. |
IX. Sneakers Protection Post-Cleaning
1. Apply Sneaker Protector Spray
After cleaning your sneakers, apply a sneaker protector spray. This creates a protective barrier that repels water, stains, and dirt, helping to keep your sneakers clean for longer.
2. Store Them Properly
When not wearing your sneakers, store them in a cool, dry place away from direct sunlight. Use shoe trees or stuff them with newspaper to help maintain their shape and absorb moisture. Avoid piling heavy objects on top of them, as this can deform the shoes.
3. Rotate Your Sneakers
Avoid wearing the same pair of sneakers every day. Rotate your footwear to give each pair time to breathe and recover between wears. This reduces wear and tear and prolongs their lifespan.
4. Regularly Clean and Maintain
Don’t wait for your sneakers to get extremely dirty before cleaning them. Regularly remove dirt and stains promptly after wear. Spot cleaning and light brushing can prevent deep-set stains and maintain their overall condition.
X. Conclusion
I believe that it is important to put some effort into keeping your sneakers fresh, not only for hygiene but also for style. Clean sneakers will last long and will leave a better impression. You do not want to go on an important outing or a date with dirty shoes, don’t you?
Nevertheless, cleaning sneakers properly can be tricky. My tips above will help you to deep clean your sneakers effectively, making them brand new again! Try them yourself at home to see how effective they are!
Latest post:
- Пин Ап Казино Официальный сайт | Pin Up Casino играть онлайн – Вход, Зеркало
- Пин Ап Казино Официальный сайт | Pin Up Casino играть онлайн – Вход, Зеркало
- Pelican kasyno – oferta gier, automaty i gry stołowe
- Pelican kasyno – oferta gier, automaty i gry stołowe
- Marsbahis – Mobil Uygulama ve Mobil Tarayıcıdan Oyun Deneyimi
VII. Question and Answers
1. Can you soak sneakers in water?
Soaking sneakers in water is generally not recommended, especially if they are made of materials like leather or suede. Water can damage the shoe’s structure, cause the fabrics to warp or shrink, and weaken adhesives. It can also lead to unpleasant odors if the shoes don’t dry properly.
2. What is the easiest way to clean sneakers?
The easiest way to clean sneakers is to use a sneaker cleaning kit, which typically includes a sneaker cleaner solution and a brush. Apply the cleaner to the brush or directly onto the dirty areas, scrub gently, then wipe away excess cleaner with a cloth or paper towel.
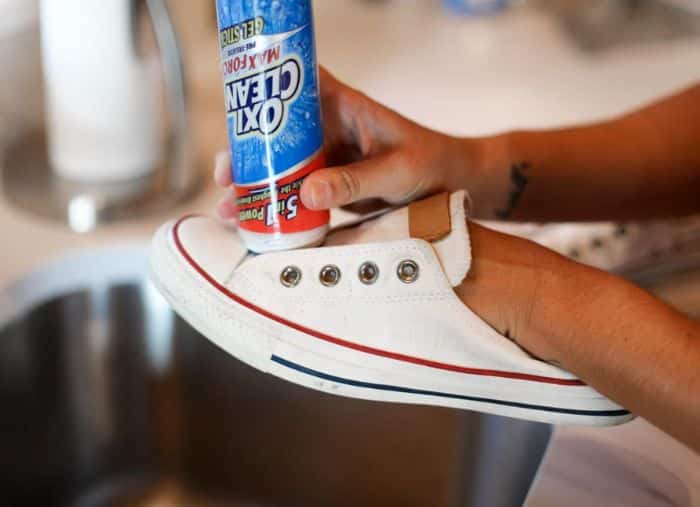
3. How to Clean Sneakers with OxiClean?
To clean sneakers with OxiClean, you need to Prepare a bucket of warm water and mix it with dish soap and OxiClean. Then, place your sneakers inside and wait for a few moments before drying them.
4. How to Clean Sneakers with Bleach?

To clean sneakers with bleach, you need to Use a small amount of bleach and put it on a toothbrush. Make sure to avoid using too much bleach, as it may damage your sneakers.
5. Is it possible to clean sneakers with baking soda?
It is possible. Baking soda can become an alternative ingredient to clean sneakers if you run out of specialized shoe cleaners. If your shoes start to smell bad, putting in some baking soda is a good way to deodorize them.
6. Is it possible to clean sneakers with toothpaste?
Yes it is possible, but you need to pick the non-gel, non-whitening toothpaste. It is an excellent material to remove persistent stains on your sneakers. It works best on white sneakers. You need to apply the paste directly on the stain and scrub it with a microfiber cloth or a toothbrush until the shoes are white again.
7. How to clean shoes without washing them?
There are several methods to clean shoes without washing them that you can try at home. Here are some of them:
- Shake-Off Dirt: Remove loose dirt and debris by vigorously shaking or tapping the shoes.
- Brush and Wipe: Use a soft brush or cloth to gently scrub away stains and dirt.
- Spot Clean: For stubborn stains, apply a mixture of mild soap and water to a cloth, then blot and rub the affected area.
- Dry Completely: Let the shoe air dry thoroughly at room temperature. Avoid using direct heat sources like radiators or dryers.
- Freshen Up: Eliminate odors by placing baking soda or cedar shoe inserts inside when storing.
Remember always to test these methods on a small surface before you apply them on your entire shoe to prevent unwanted damage!